
先在darknet把Makefile檔案的三個變數調成1.


以下是這次訓練主要會用到的檔案
l obj.data
l obj.names
l process.py
l yolov4-custom.cfg


process.py裡面的程式碼會產生train.txt和test.txt兩個檔案

其中 train.txt 包含 90% 圖像的路徑, test.txt 包含 10% 圖像的路徑.

圖像的路徑是設在data/obj裡面, 這些圖片是在kaggle開源的dataset下載的, 網址如下~
https://www.kaggle.com/techzizou/labeled-mask-dataset-yolo-darknet

這些圖片都已經標註好了, 圖片的txt檔會如下圖所示, 裡面把人臉都標籤好了,
並且也把標籤包含在裡面了.

obj.data
classes >> 代表你的標籤有幾個
train >> 你要訓練的路徑檔案在哪
valid >> 你要認證的檔案路徑在哪
backup >>你訓練完成的權重想要存在哪

obj.names
包含你的所有標籤, 以本例來說, 包含了
l with_mask
l without_mask

yolov4.conv.137 是一個pre-trained weights file, 也就是預訓練模型,
路徑也是放在darknet下面.

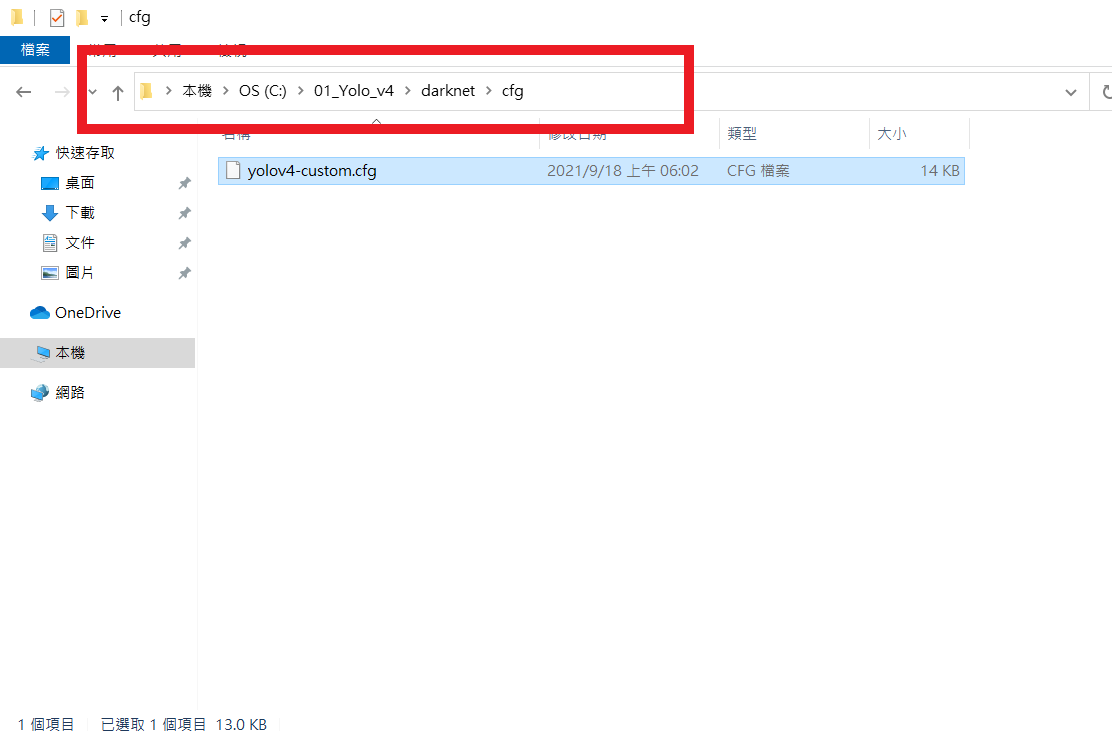
.cfg檔的參數設定
batch=64
subdivisions=16
說明每個step我們將使用64張圖片進行訓練;
batch將會被分成16個小的組,64/16,用來減少顯存的需求;
如果在訓練中提示顯存不夠,可以嘗試增加subdivisions值,
例如,
batch=64
subdivisions=64
關於最大訓練步數,一般設置為classes*2000,
而steps設置為上述值的80%和90%。
Error: cuDNN isn't found FWD algo for convolution.
出現上面這串字的時候, 可能是顯卡記憶體不足(?)
只要把subdivisions調高,
或是把width , height 調小就好~
(但記得寬度和高度必須為32的倍數唷!)
另一種說法~
batch:
每一次迭代送到網絡的圖片數量,也叫批數量。增大這個可以讓網絡在較少的迭代次數內完成一個epoch。在固定最大迭代次數的前提下,增加batch會延長訓練時間,但會更好的尋找到梯度下降的方向。如果你顯存夠大,可以適當增大這個值來提高內存利用率。這個值是需要大家不斷嘗試選取的,過小的話會讓訓練不夠收斂,過大會陷入局部最優。
subdivision:
這個參數很有意思的,它會讓你的每一個batch不是一下子都丟到網絡裏。而是分成subdivision對應數字的份數,一份一份的跑完後,在一起打包算作完成一次iteration。這樣會降低對顯存的佔用情況。如果設置這個參數爲1的話就是一次性把所有batch的圖片都丟到網絡裏,如果爲2的話就是一次丟一半。
burn_in:
burn_in=1000 在迭代次數小於burn_in時,其學習率的更新有一種方式,大於burn_in時,才採用policy的更新方式.
😢你的burn_in如果設定200, 你的mAP會在200之後才在chart顯示出來~
😢若設burn_in=1000, 你的mAP會在1000之後才顯示出來喔~
angle:
圖片旋轉角度,這個用來增強訓練效果的。從本質上來說,就是通過旋轉圖片來變相的增加訓練樣本集。
saturation,exposure,hue:
飽和度,曝光度,色調,這些都是爲了增強訓練效果用的。
learning_rate:
學習率,訓練發散的話可以降低學習率。學習遇到瓶頸,loss不變的話也減低學習率。
max_batches:
最大迭代次數。
policy: 學習策略,可以設置成以下方式:
- fixed: 保持base_lr不變.
- step: 如果設置爲step,則還需要設置一個stepsize,
返回 base_lr * gamma ^ (floor(iter / stepsize)),其中iter表示當前的迭代次數
step,scales:
這兩個是組合一起的,舉個例子:learn_rate:
0.001, step:100,25000,35000 scales: 10, .1, .1 這組數據的意思就是在0-100次iteration期間learning
rate爲原始0.001,在100-25000次iteration期間learning rate爲原始的10倍0.01,在25000-35000次iteration期間learning rate爲當前值的0.1倍,就是0.001, 在35000到最大iteration期間使用learning rate爲當前值的0.1倍,就是0.0001。隨着iteration增加,降低學習率可以是模型更有效的學習,也就是更好的降低train loss。
最後一層卷積層中filters數值是 5×(類別數 + 1*5)。具體原因就不多說了,知道就好哈。
region裏需要把classes改成你的類別數。
random
如果設置爲1的話,就是在訓練的時候每一batch圖片會隨便改成320-640(32整倍數)大小的圖片。目的和上面的色度,曝光度等一樣。如果設置爲0的話,所有圖片就只修改成默認的大小 416*416。
💙Training💚
Train your custom detector
darknet.exe detector train data/obj.data cfg/yolov4-custom.cfg yolov4.conv.137 -dont_show -mapThe map parameter here gives us the Mean Average Precision. The higher the mAP the better it is for object detection. You can remove the -dont_show parameter to see the progress chart of mAP-loss against iterations.
參考來源~
https://wings890109.pixnet.net/blog/post/68939643-yolo-v4-%E8%BE%A8%E8%AD%98%E8%87%AA%E5%AE%9A%E7%BE%A9%E7%89%A9%E4%BB%B6
https://www.twblogs.net/a/5b8d0f722b717718833a3007
https://techzizou.com/train-a-custom-yolov4-object-detector-on-windows/

訓練好的weights會存在你當初在obj.data>>backup設定的路徑裡.
此例的路徑為backup = ../training

口罩辨識訓練好的chart~
而mAP呢?
由於通常測試的物件種類不會只有一種 還有其他類型,
像是狗、貓、飛機、人、桌子、椅子...等等,
例如COCO Dataset就有80種辨識種類
而mAP就是把所有種類的AP取平均
就可算出該系統對於所有辨識種類的平均辨識率mAP
(AP是平均辨識率...那mAP就是...平均的平均辨識率... )

Run detector on an image
darknet.exe detector test data/obj.data cfg/yolov4-custom.cfg ../training/yolov4-custom_best.weights ../../mask_test_images/image1.jpg -thresh 0.3
darknet.exe detector test data/obj.data cfg/yolov4-custom.cfg ../training/yolov4-custom_best.weights ../../mask_test_images/image1.jpg -thresh 0.3 copy predictions.jpg ..\..\mask_test_images\output_image.jpgRun detector on a video
darknet.exe detector demo data/obj.data cfg/yolov4-custom.cfg ../training/yolov4-custom_best.weights ../../mask_test_videos/test.mp4 -thresh 0.5 -i 0 -out_filename ../../mask_test_videos/output.aviRun detector on a live webcam
darknet.exe detector demo data/obj.data cfg/yolov4-custom.cfg ../training/yolov4-custom_best.weights -thresh 0.5 💛記得當你要測試剛train好的weights時, 記得把batch和subdivisions調成1.
#Testing
#batch=1
#subdivisions=1
- change line
classes=80to your number of objects in each of 3[yolo]-layers:- https://github.com/AlexeyAB/darknet/blob/0039fd26786ab5f71d5af725fc18b3f521e7acfd/cfg/yolov3.cfg#L610
- https://github.com/AlexeyAB/darknet/blob/0039fd26786ab5f71d5af725fc18b3f521e7acfd/cfg/yolov3.cfg#L696
- https://github.com/AlexeyAB/darknet/blob/0039fd26786ab5f71d5af725fc18b3f521e7acfd/cfg/yolov3.cfg#L783
- change [
filters=255] to filters=(classes + 5)x3 in the 3[convolutional]before each[yolo]layer, keep in mind that it only has to be the last[convolutional]before each of the[yolo]layers.- https://github.com/AlexeyAB/darknet/blob/0039fd26786ab5f71d5af725fc18b3f521e7acfd/cfg/yolov3.cfg#L603
- https://github.com/AlexeyAB/darknet/blob/0039fd26786ab5f71d5af725fc18b3f521e7acfd/cfg/yolov3.cfg#L689
- https://github.com/AlexeyAB/darknet/blob/0039fd26786ab5f71d5af725fc18b3f521e7acfd/cfg/yolov3.cfg#L776
./darknet detector calc_anchors data/obj.data -num_of_clusters 9 -width 416 -height 416./darknet detector calc_anchors data文件 -num_of_clusters 需要幾組 -width 寬度 -height 高度 -show
沒有留言:
張貼留言
喜歡我的文章嗎? 喜歡的話可以留言回應我喔! ^^